Once your Study is created, the next logical action is to adjust its parameters.
Here is how to proceed.
Video tutorial
Step-by-step process
If you haven’t created your Study yet, please check this article first.
Then, log in the Study Portal, go to the Studies page and click the cog icon of the Study you want to edit.
2. Vital Parameters
Then, you can disable or enable the parameters that you want to monitor on your subjects with the CardioWatch.
When enabling a Vital Parameter, you may have the choice between different monitoring rate and monitoring time period.
| Monitoring rate | Description |
| 1/30 minutes | every 30 minutes |
| 1/min | once per minute |
| 1/10sec | every 10 seconds |
| 1/sec | once per second |
| Monitoring time period | Description |
| Continuous | the Vital Parameter is monitored all day long (meaning day and night, regardless of the user’s activity) |
| Bedtime-Risetime | the Vital Parameter is monitored only during Sleep time, based on the bed time and rise time configured by the user in the Corsano app |
Please note that the selected rate has a direct impact on the CardioWatch battery autonomy. A higher monitoring rate will result in a shorter battery cycle. Therefore, the subjects of the Study will need to recharge their CardioWatch more often.
Refer to our Metrics support section if you need more information regarding which Vital Parameters are relevant to your Study.
3. Raw Data
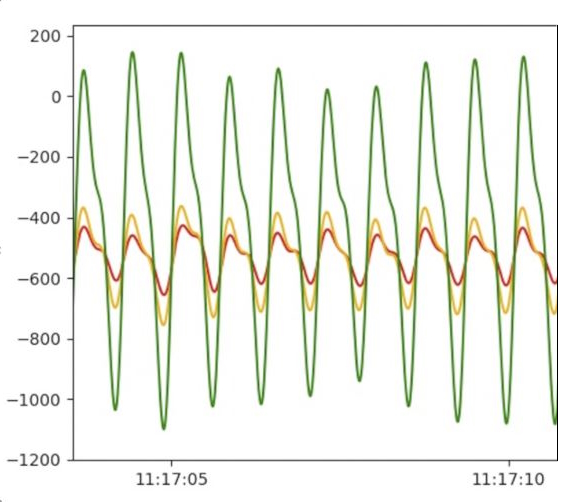
If the output metrics provided by the CardioWatch are not enough for you, or you want to use some algorithms of your own, you can enable the Raw Data to have access to the data coming directly from the CardioWatch’s sensors.
| ACC | accelerometer sensor |
| PPGG | PPG Green sensor |
| PPG G/R/Ir | PPG Green, Red and Infra red sensor |
| BioZ | skin conductance sensor |
Please note that enabling Raw Data has a direct impact on the CardioWatch battery autonomy. The more data you enable, the more power is necessary for both the CardioWatch and the Corsano app device, due to higher data transfer rate.
Be also aware that in case of large amount of data monitoring (such as PPG G/R/Ir at 128Hz), the memory autonomy of the bracelet will be reduced, in the sense that the memory buffer of the CardioWatch will get full much faster. This is why we strongly recommend for all subjects to keep their phone close to them with the app running as much as possible (including at night if relevant).
4. Dashboard
Then, you can choose one of the predefined Corsano app dashboards.
The default one is called RPM which stands for Remote Patient Monitoring and provides continuous monitoring.
The Start/Stop dashboard is ideal for one-shot measurements.
5. Tab Settings
Finally, you can customize the number and type of tabs that you want to see in the Corsano app, in addition to the main dashboard.
Please note that depending on your Vital Parameters and Dashboard selections, some tabs might show empty content.
For instance, there is no point enabling the Sleep tab in the app, if your Study does not enable Sleep monitoring.

